Work // Inventory
Organise categories
Every product lives in a category, so start by creating the categories you need. Keep the top level short and use subcategories for detail: Loaner cameras › Camera bodies and Loaner cameras › Lenses.
Create a category
Section titled “Create a category”- In Inventory, click Categories, then New category.
- Enter the Category name.
- Click Create (or press Ctrl Enter).
The category appears in the tree, sorted by name. The Subcategories column counts the categories directly under each one. Type in Search (or press /) to find a category; a match keeps its parents in view.
Create a subcategory
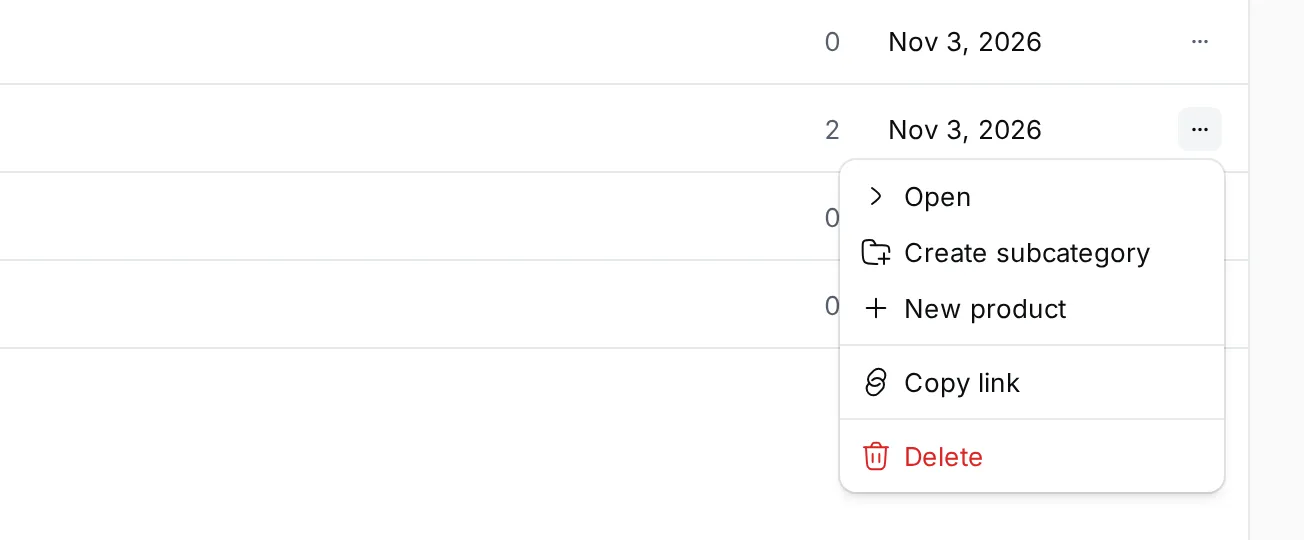
Section titled “Create a subcategory”- Click ⋯ at the end of the parent category’s row, or right-click the row.
- Choose Create subcategory.
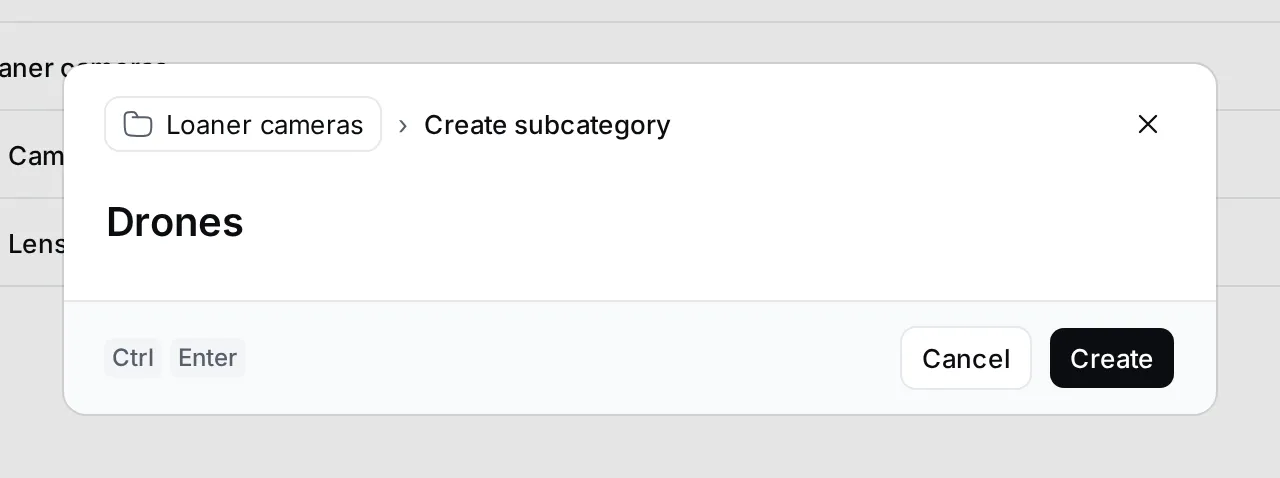
- Enter the name and click Create. The parent is shown at the top of the dialog.
A category’s page
Section titled “A category’s page”Click a category to open it.
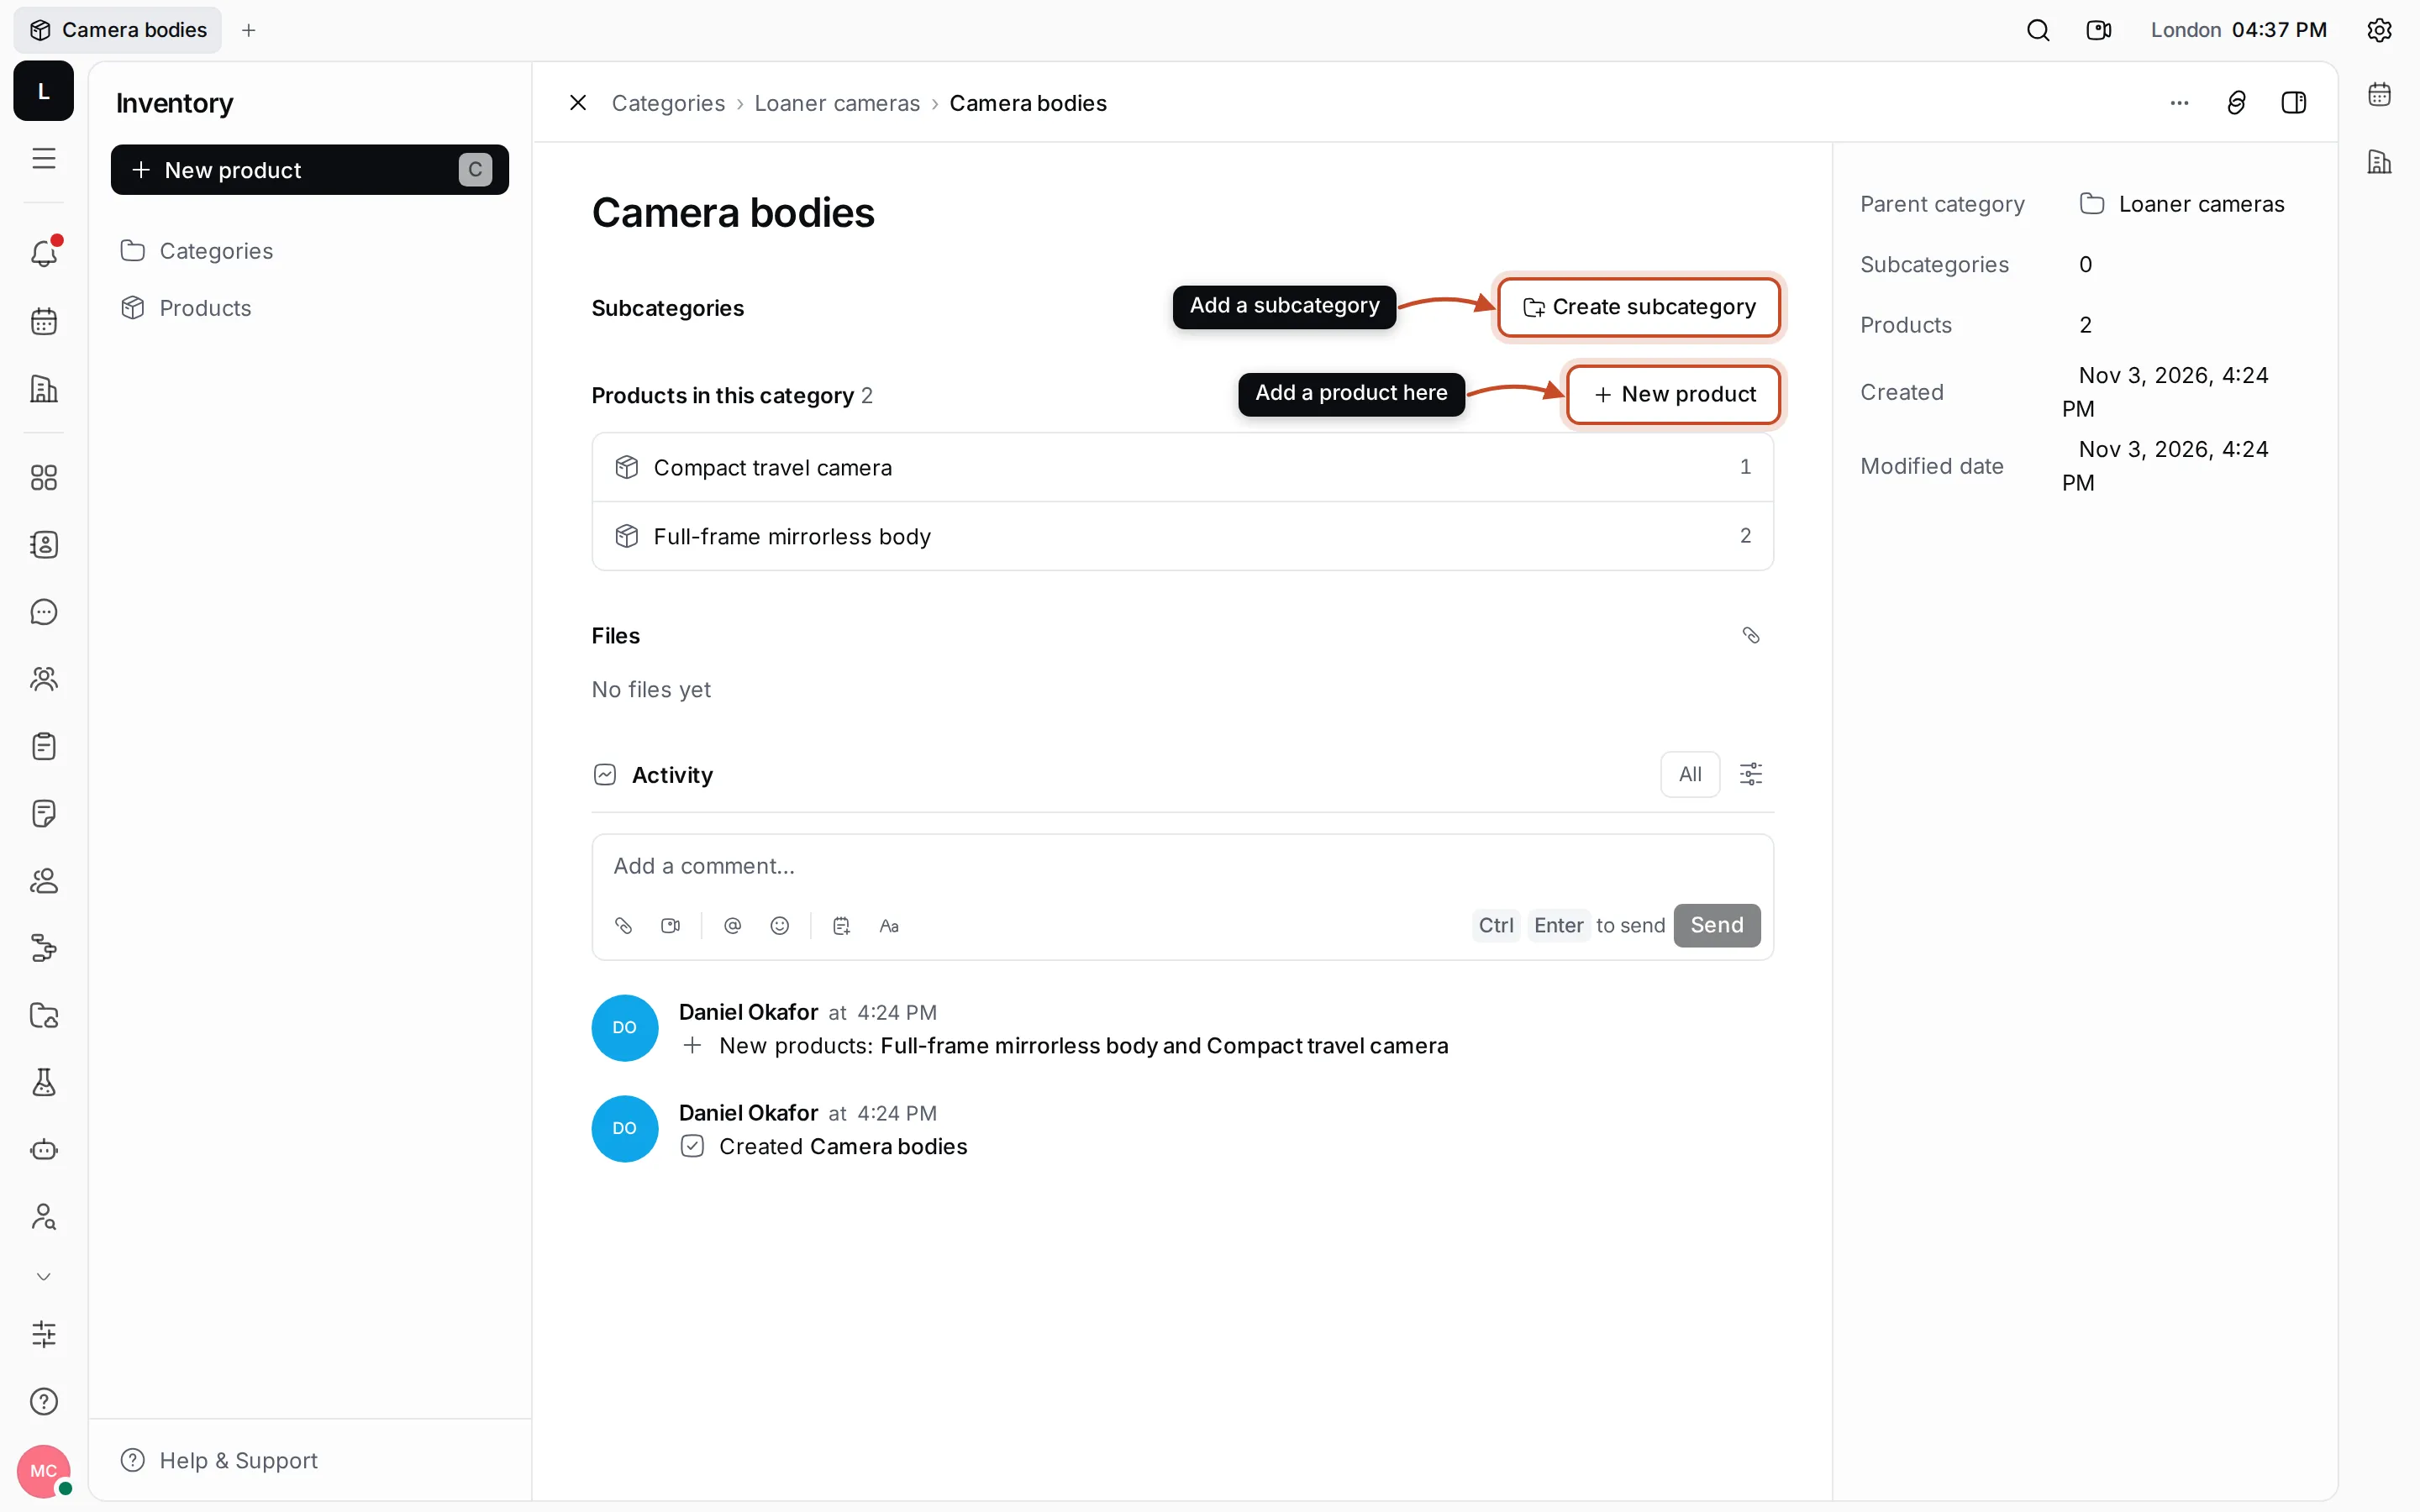
- Click the name to rename the category.
- Subcategories lists the categories under this one. Create subcategory adds one.
- Products in this category lists its products and their number of variants. New product adds a product here. When there are many, a link at the bottom opens them all in the product list.
- Files and Activity keep documents and comments about the whole category.
The details panel shows the Parent category, the number of subcategories and products, and when the category was created and changed.
Delete a category
Section titled “Delete a category”Choose Delete from the category’s ⋯ menu and confirm.